I absolutely love this recipe because it’s like bringing a little slice of childhood nostalgia to life with its buttery, melt-in-your-mouth goodness and the fun pop of color. Plus, decorating each tree-shaped cookie with sprinkles or glitter is an extra treat that feels just like an arts and crafts session in the holiday spirit!
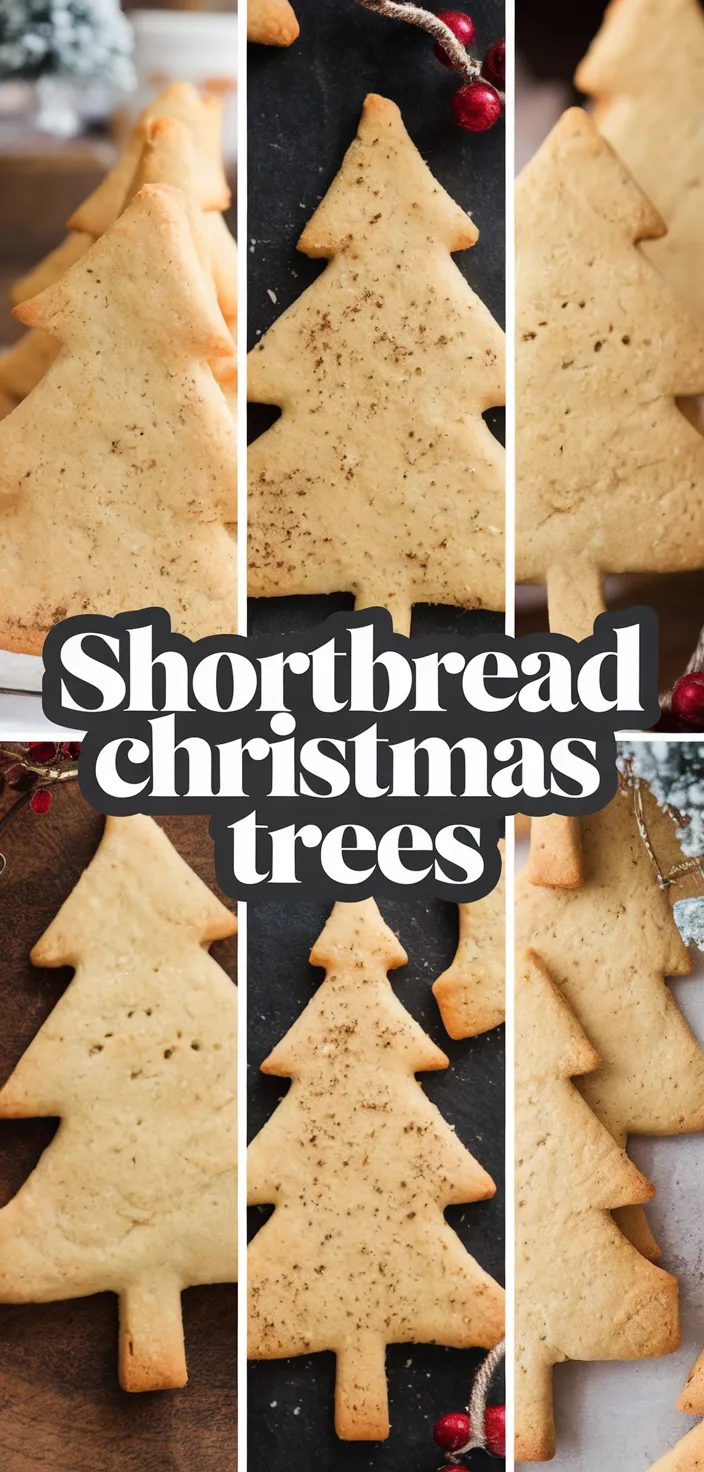
I adore making celebratory goodies for the holidays, and my Shortbread Christmas Trees are a cute and tasty addition to any festivities. They start with a base of rich, creamy unsalted butter that, when combined with the superfine powdered sugar and a touch of vanilla, make for a not-so-secret, delicious cookie formula.
I use a hint of green food coloring to mimic the color of a lovely evergreen tree. Colorful sprinkles and lots of them—in the rainbow—are a must.
Ingredients
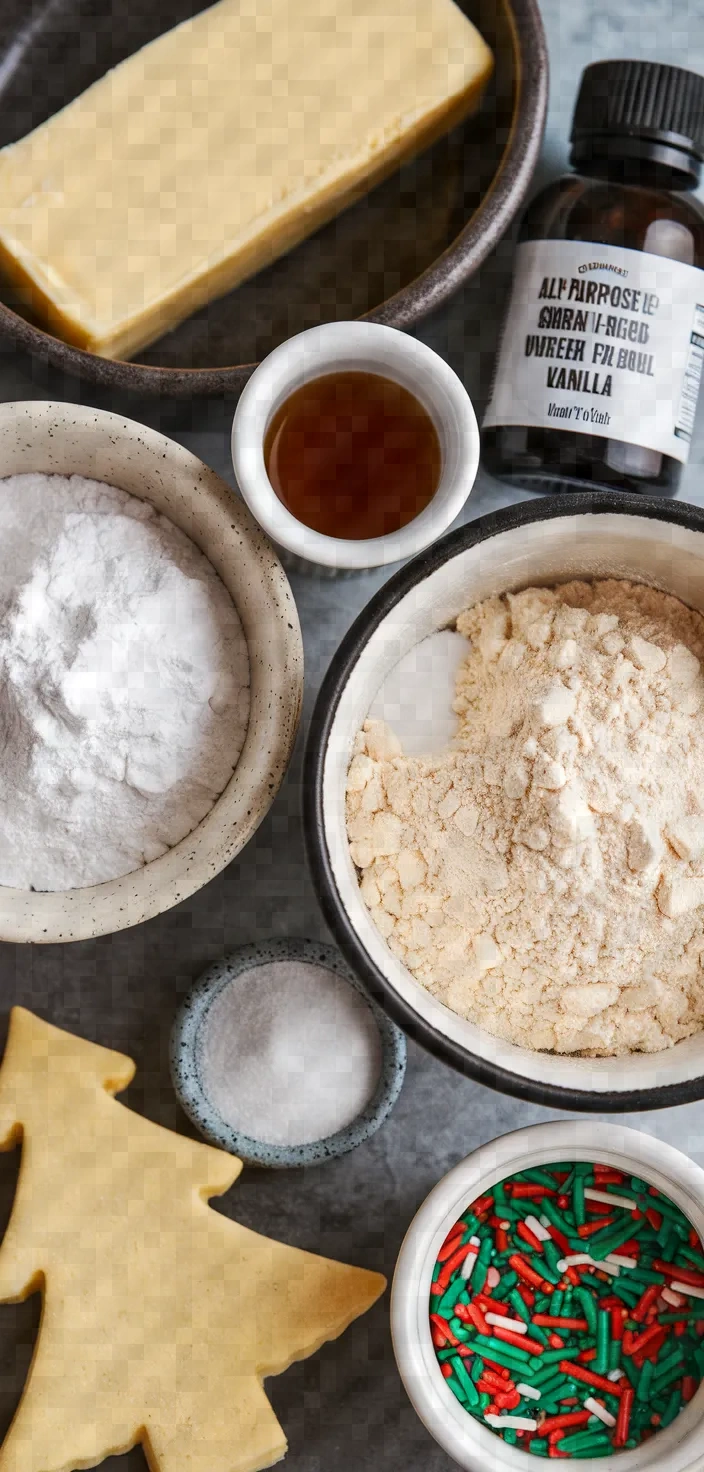
Butter (without salt): high fat; produces a crumbly texture.
Confectioners’ Sugar: Delivers sweetness and a silky texture.
Vanilla Extract: Provides the scent of sweet warmth.
All-Purpose Flour: Principal framework; abundant in carbohydrates.
Enhances flavors; balances sweetness.
Salt.
(Optional) cornstarch: imparts tenderness and a silky texture.
Ingredient Quantities
- 1 cup (2 sticks) unsalted butter, room temperature
- 3/4 cup powdered sugar
- 1 teaspoon vanilla extract
- 2 cups all-purpose flour
- 1/4 teaspoon salt
- Green food coloring
- Colored sprinkles or edible glitter for decoration
- Optional: 1 tablespoon cornstarch (for a more delicate texture)
Instructions
1. Your oven should be preheated to 325°F (165°C), and a baking sheet should be lined with parchment paper.
2. In a big bowl, combine together the butter at room temperature and the powdered sugar until you get something light and fluffy.
3. Incorporate the vanilla extract completely by mixing it in.
4. Slowly add in the all-purpose flour, salt, and cornstarch (if using) while mixing until the dough finally comes together.
5. Incorporate a few drops of green food coloring and keep mixing until the dough is uniformly tinted.
6. On a surface lightly dusted with flour, roll the dough to about a 1/4-inch thickness.
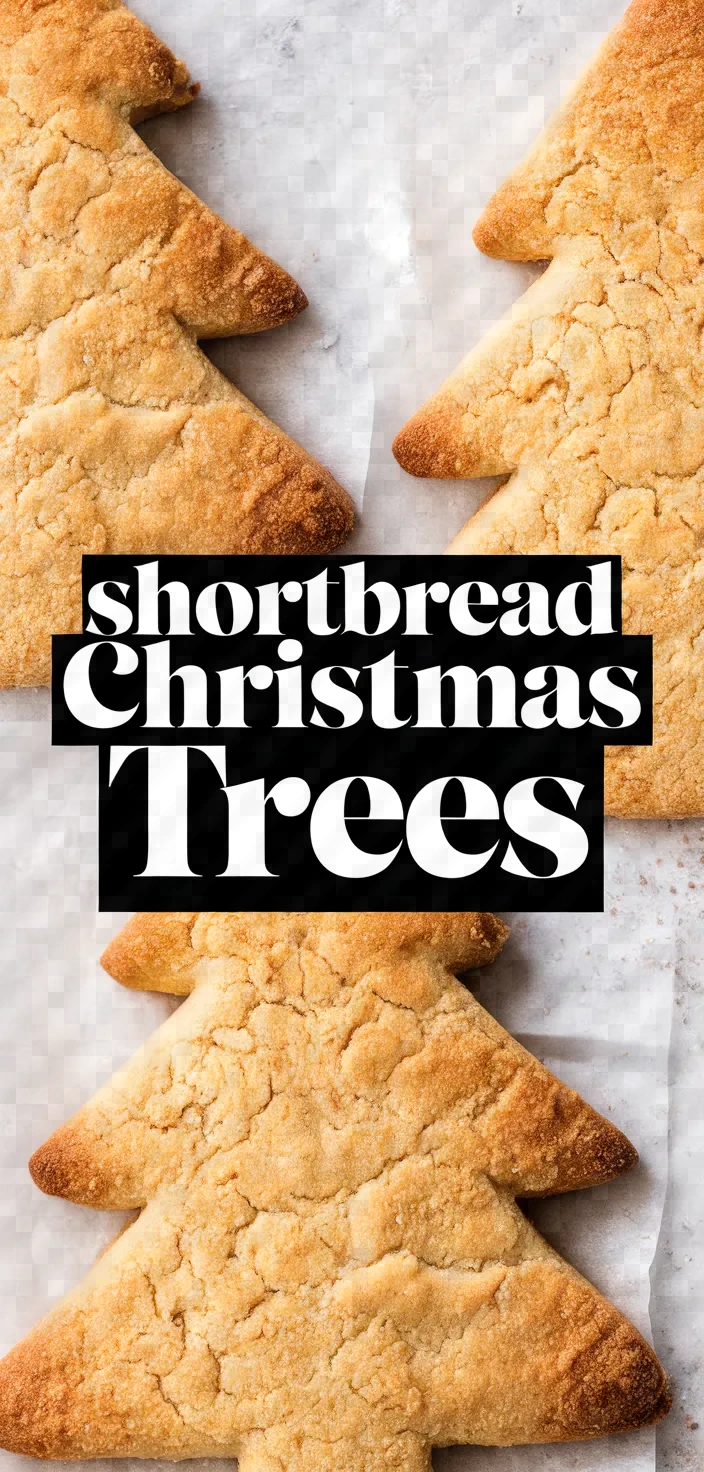
7. To make the tree-shaped cutout cookies, use a tree-shaped cookie cutter to cut out the cookies and carefully transfer them to the prepared baking sheet.
8. If you wish, you can add colored sprinkles or edible glitter to the cookies as decoration.
9. Preheat the oven. While the oven is preheating, prepare the batter. Once the batter is prepared and the oven is ready, pour the batter into a baking dish and place it in the oven. Bake for 12-15 minutes, or until the edges begin to turn golden brown.
10. Let the cookies cool on the baking sheet for a few minutes before moving them to a wire rack where they can cool completely.
Equipment Needed
1. Oven
2. Baking sheet
3. Parchment paper
4. Large mixing bowl
5. Hand mixer or stand mixer
6. Measuring cups and spoons
7. Spatula or spoon
8. Tree-shaped cookie cutter
9. Rolling pin
10. Wire rack
11. Flour sifter (optional, for dusting surface)
FAQ
- Q: Can I use salted butter instead of unsalted butter?You can use salted butter, but decrease the added salt to a pinch.
- Q: How do I ensure the shortbread keeps its shape during baking?Chilling the cut cookies is an important step for a few reasons. When you shape and cut cookies, you want to make sure they will hold their shape during baking. Chilling the cookies helps with that. The next reason is that most butter-based cookies spread when baking. Chilling the dough will help reduce the spread. Cookie dough that is not allowed to chill will not only spread too much but will also be very difficult to work with, both in shaping the cookies and in rolling the cookie dough out.
- Q: Can I make these cookies in advance?Sure, I can handle that. The dough can be made and chilled up to 3 days in advance, or frozen for a month.
- Q: How do I prevent the dough from becoming too sticky?If the dough is sticky, chill it for 10-15 minutes. If you are dealing with a touch more flour, the dough is manageable.
- Q: Is the cornstarch necessary, and what does it do?Optional, but a big help in making the final product tender and delicate, is cornstarch.
- Q: How should I store these shortbread cookies?A: Keep them in a container that is sealed and air-tight and at room temperature. They will last a week unless you eat them sooner.
- Q: Can I add different flavors to the shortbread?Q: Can I add flavors like almond extract or lemon zest for variation?
A: Yes, you can add flavors like almond extract or lemon zest for variation.
Substitutions and Variations
Butter without salt: You can use salted butter instead, but remember to leave out the added salt.
Confectioner’s sugar: To make your own, use an equal amount of granulated sugar and blend it until fine, for a more textured, homemade version.
Vanilla extract: Substitute with almond extract for an alternate flavor profile.
All-purpose flour: For a gluten-free version, use a blend of gluten-free flours.
Matcha powder: Use this natural coloring agent instead of food coloring, and enjoy the added flavor as a bonus.
Pro Tips
1. Chill the Dough After mixing the dough and before rolling it out, wrap it in plastic wrap and chill it in the refrigerator for at least 30 minutes. This helps prevent spreading during baking and makes it easier to roll out.
2. Uniform Coloring To ensure even distribution of the green food coloring, consider mixing the coloring into the butter-sugar mixture before adding the dry ingredients. This ensures an even color throughout the dough.
3. Use Quality Vanilla Extract For the best flavor, use a high-quality pure vanilla extract instead of imitation. It makes a big difference in the taste of the cookies.
4. Precise Cutting Dip your tree-shaped cookie cutter into flour before cutting each cookie. This prevents sticking and helps maintain the shape as you transfer cookies to the baking sheet.
5. Store Properly Keep your cookies fresh by storing them in an airtight container once they are completely cooled. You can also place a slice of bread in the container to keep the cookies soft and moist.
Shortbread Christmas Trees Recipe
My favorite Shortbread Christmas Trees Recipe
Equipment Needed:
1. Oven
2. Baking sheet
3. Parchment paper
4. Large mixing bowl
5. Hand mixer or stand mixer
6. Measuring cups and spoons
7. Spatula or spoon
8. Tree-shaped cookie cutter
9. Rolling pin
10. Wire rack
11. Flour sifter (optional, for dusting surface)
Ingredients:
- 1 cup (2 sticks) unsalted butter, room temperature
- 3/4 cup powdered sugar
- 1 teaspoon vanilla extract
- 2 cups all-purpose flour
- 1/4 teaspoon salt
- Green food coloring
- Colored sprinkles or edible glitter for decoration
- Optional: 1 tablespoon cornstarch (for a more delicate texture)
Instructions:
1. Your oven should be preheated to 325°F (165°C), and a baking sheet should be lined with parchment paper.
2. In a big bowl, combine together the butter at room temperature and the powdered sugar until you get something light and fluffy.
3. Incorporate the vanilla extract completely by mixing it in.
4. Slowly add in the all-purpose flour, salt, and cornstarch (if using) while mixing until the dough finally comes together.
5. Incorporate a few drops of green food coloring and keep mixing until the dough is uniformly tinted.
6. On a surface lightly dusted with flour, roll the dough to about a 1/4-inch thickness.
7. To make the tree-shaped cutout cookies, use a tree-shaped cookie cutter to cut out the cookies and carefully transfer them to the prepared baking sheet.
8. If you wish, you can add colored sprinkles or edible glitter to the cookies as decoration.
9. Preheat the oven. While the oven is preheating, prepare the batter. Once the batter is prepared and the oven is ready, pour the batter into a baking dish and place it in the oven. Bake for 12-15 minutes, or until the edges begin to turn golden brown.
10. Let the cookies cool on the baking sheet for a few minutes before moving them to a wire rack where they can cool completely.