I absolutely love this recipe because it’s a wholesome twist on traditional pita bread that’s gluten-free and packed with flavor; it makes me feel like I’m indulging without the guilt. Plus, there’s something genuinely satisfying about baking my own bread and enjoying it fresh out of the oven—it’s like a cozy, homemade hug!
Recipes that combine health with flavor are what I enjoy creating most, and my Buckwheat Pita Bread does just that. It’s a nutritious bread made with buckwheat flour—not wheat—which means it’s gluten-free.
I use tapioca starch to give the bread some structure and olive oil for richness; the taste and texture of the bread are enhanced with a little honey (or sugar, if you prefer) and yeast. Wholesome and so good, you won’t believe it’s good for you.
Ingredients
Buckwheat Flour:
They are gluten-free and very high in fiber and protein, with a nutty flavor.
Tapioca Starch:
Delivers stretch and bend, and is an excellent source of energy converted from the carbohydrates it contains.
Olive Oil:
Adds a component of healthy fat that contributes moisture and richness.
Active Dry Yeast:
Necessary for leavening, it contributes a slight fermentative flavor.
Honey/Sugar:
The yeast is fed, a milder sweetness developed in association with the fermentation process.
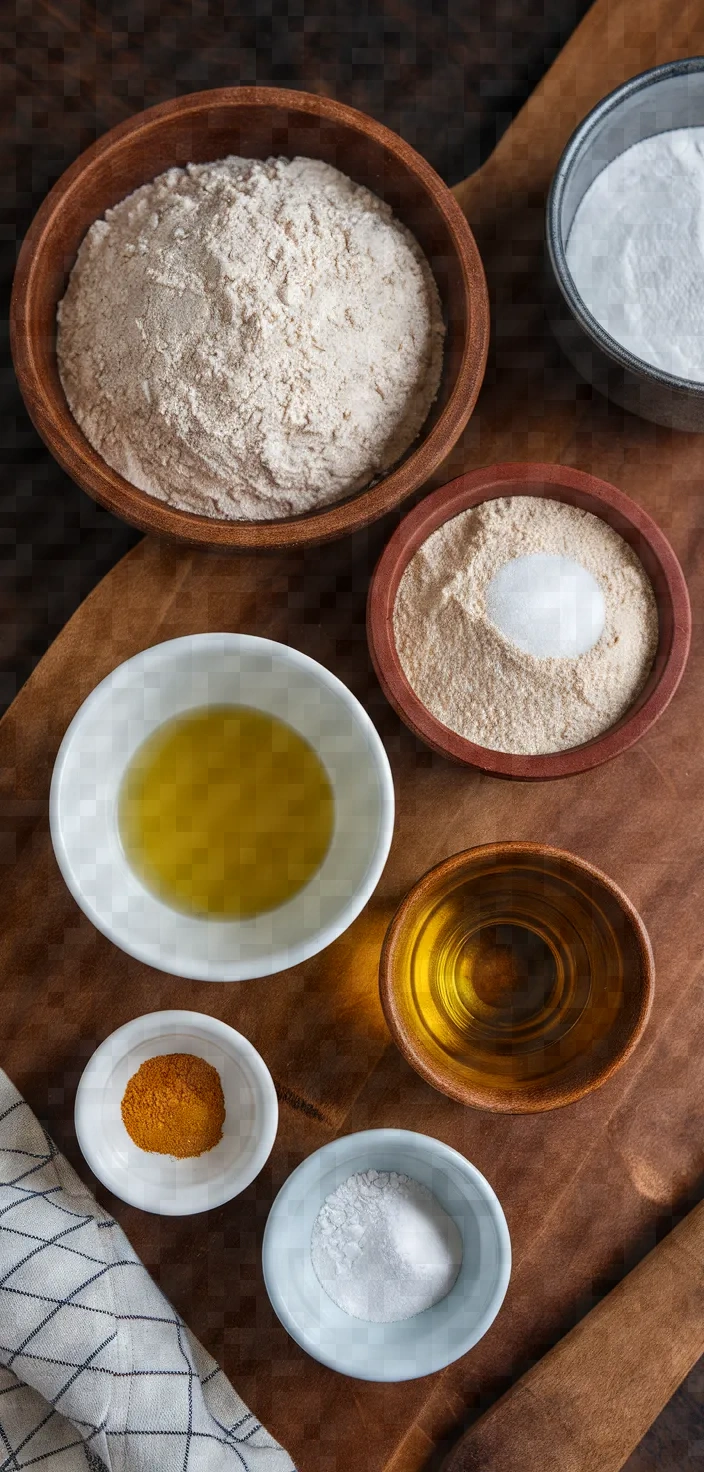
Ingredient Quantities
- 1 cup buckwheat flour
- 1 cup tapioca starch
- 1/2 teaspoon salt
- 1 teaspoon baking powder
- 1 tablespoon olive oil
- 3/4 cup warm water
- 1 teaspoon honey or sugar
- 1 teaspoon active dry yeast
Instructions
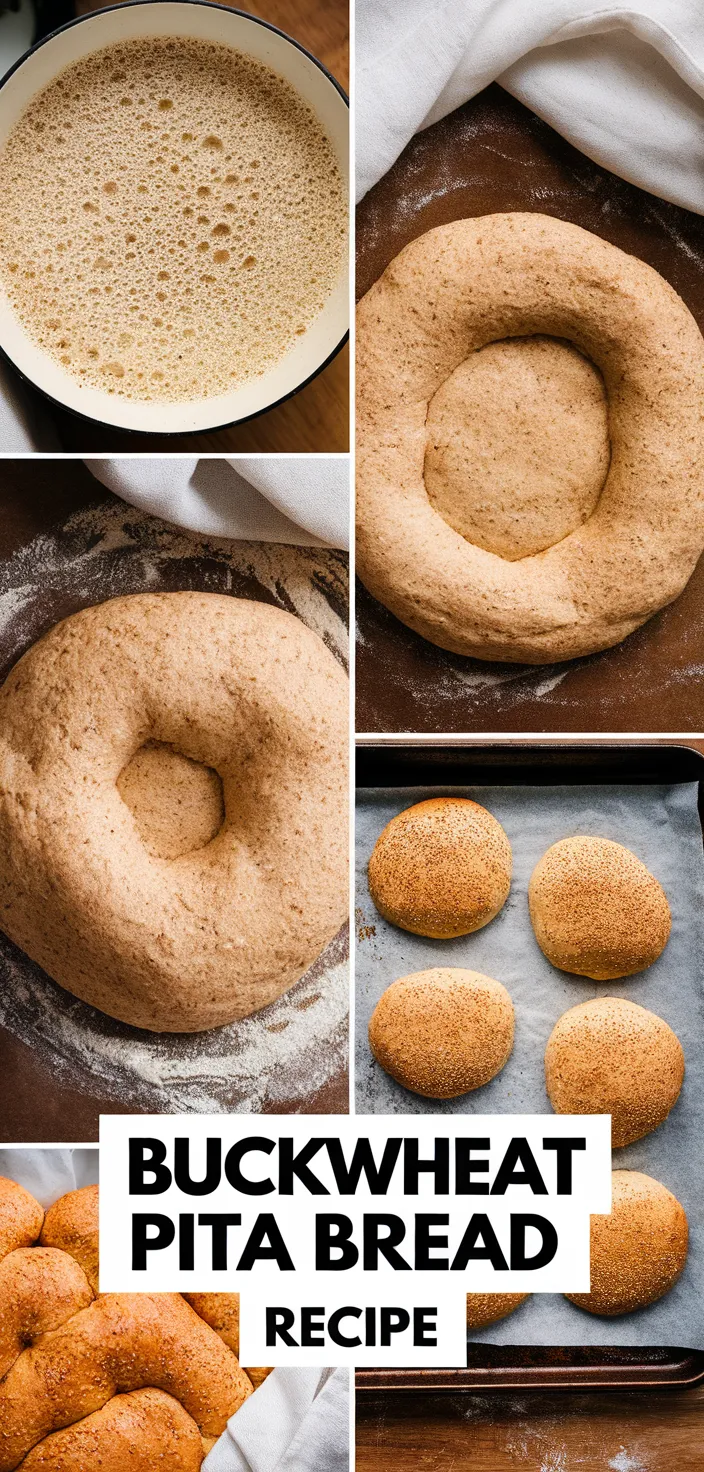
1. In a small bowl, mix the warm water, honey or sugar, and active dry yeast. Stir gently and let it sit for about 5-10 minutes until it becomes frothy.
2. In a big bowl, mix the buckwheat flour, the tapioca starch, the salt, and the baking powder.
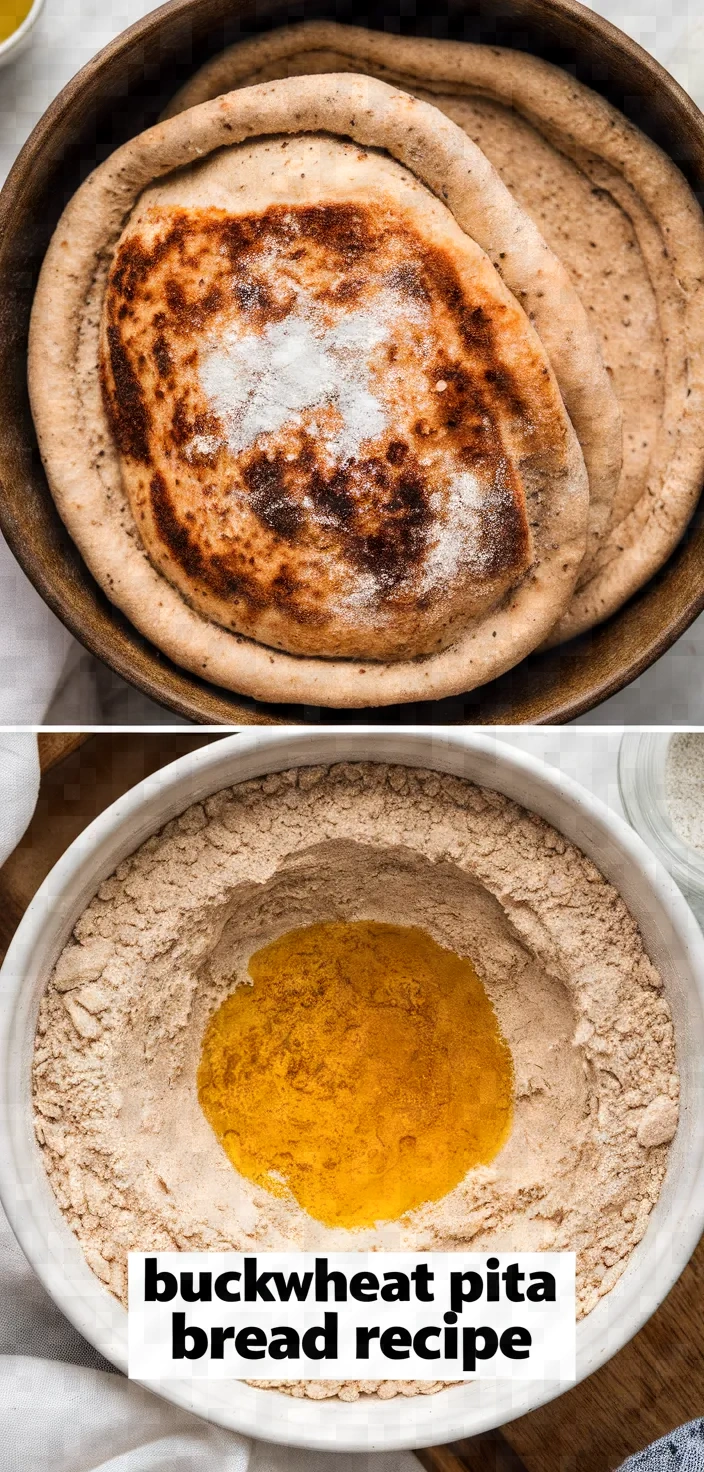
3. Make a well in the middle of the dry ingredients. Then add olive oil and the yeast mixture.
4. Combine the ingredients until a dough starts to form. It should be manageable but slightly sticky.
5. Gently knead the dough for several minutes until it achieves a smooth consistency. If it seems excessively sticky, work in some extra flour; if it seems too dry, work in a little extra water.
6. Drape a wet cloth over the dough and let it sit in a warm spot for about 30-45 minutes. Allow it to rise a bit. It may not rise as much as the other things that we make yeast work in, but it will get a little bit fluffy for your next step.
7. The oven must be preheated to 475°F (245°C). A baking sheet or an inverted baking tray needs to be in the oven to heat up.
8. Separate the dough into 6-8 equal parts and form each part into a ball. With a rolling pin, flatten each ball into a thin round shape about 1/4 inch thick.
9. Put the flattened dough on the hot baking sheet in the oven. Bake for 5-7 minutes, or until the pitas have puffed up and are just slightly golden.
10. Take them out of the oven and cover with a fresh cloth to keep them soft and bendy. Serve them warm; or, if they cool off, keep them in an airtight container.
Equipment Needed
1. Small bowl
2. Spoon or small whisk
3. Large mixing bowl
4. Measuring cups
5. Measuring spoons
6. Wooden spoon or spatula
7. Clean kitchen towel or cloth
8. Oven
9. Baking sheet or inverted baking tray
10. Rolling pin
11. Airtight container (optional)
FAQ
- Q: Can I substitute the buckwheat flour with another type of flour?A: Although buckwheat flour is essential for its unique taste and gluten-free characteristic, it can be replaced with any other gluten-free flour, even though this may change the flavor and texture.
- Q: Is there a substitute for tapioca starch?A: Yes, you can use arrowroot powder or potato starch instead, but they may alter the texture of the pita bread a bit.
- Q: How should I store the buckwheat pita bread?A: Place the pita in an airtight container and keep it at room temperature for as long as 2 days. For longer storage, it’s best to freeze the pita. You can do that for up to 1 month.
- Q: Can I use instant yeast instead of active dry yeast?A: Yes, you can use instant yeast. Just blend it right in with the dry ingredients, and don’t worry about activating it in warm water first.
- Q: Can I make the dough ahead of time?A: Absolutely! The dough can be prepared as far in advance as 24 hours and chilled in the refrigerator until you need it. Just be sure to allow it to return to room temperature before baking.
- Q: Is it possible to make this recipe without any oil?A: Yes, the olive oil may be omitted if necessary, although it does help with keeping the pita bread soft and moist. The texture might change slightly without it.
Substitutions and Variations
Buckwheat Flour: Substitute millet or quinoa flour in equal amounts for a similar gluten-free alternative.
Tapioca Starch: If you don’t have tapioca starch, you can substitute it with arrowroot powder or potato starch.
Coconut Oil or Avocado Oil: Use these in place of olive oil to achieve a distinct flavor profile. The option of coconut oil, in particular, may lend a tropical flair to your dish.
Agave nectar or maple syrup can serve as substitutes for honey or sugar when a similar degree of sweetness is desired.
Pro Tips
1. Proofing the Yeast Properly: Make sure the water used to activate the yeast is warm, but not too hot—ideal temperature is between 100°F and 110°F. This helps the yeast activate properly without killing it.
2. Perfect Dough Consistency: When combining the ingredients to form the dough, ensure it’s slightly sticky, but not overly so. Adjust by adding a little more buckwheat flour or water as needed until you achieve the right texture.
3. Resting and Rising Spot: Find a warm, draft-free spot for the dough to rise. If your kitchen is cold, you can place the dough in a turned-off oven with the light on to create a warm environment for optimal rising.
4. Baking Sheet Preheat Tip: Preheat the baking sheet along with the oven to ensure the pitas start cooking immediately upon contact. This helps them puff up properly.
5. Handling the Pitas After Baking: Cover the freshly baked pitas with a clean, damp cloth to trap steam, keeping them soft and pliable. This prevents them from becoming dry and hard as they cool.
Buckwheat Pita Bread Recipe
My favorite Buckwheat Pita Bread Recipe
Equipment Needed:
1. Small bowl
2. Spoon or small whisk
3. Large mixing bowl
4. Measuring cups
5. Measuring spoons
6. Wooden spoon or spatula
7. Clean kitchen towel or cloth
8. Oven
9. Baking sheet or inverted baking tray
10. Rolling pin
11. Airtight container (optional)
Ingredients:
- 1 cup buckwheat flour
- 1 cup tapioca starch
- 1/2 teaspoon salt
- 1 teaspoon baking powder
- 1 tablespoon olive oil
- 3/4 cup warm water
- 1 teaspoon honey or sugar
- 1 teaspoon active dry yeast
Instructions:
1. In a small bowl, mix the warm water, honey or sugar, and active dry yeast. Stir gently and let it sit for about 5-10 minutes until it becomes frothy.
2. In a big bowl, mix the buckwheat flour, the tapioca starch, the salt, and the baking powder.
3. Make a well in the middle of the dry ingredients. Then add olive oil and the yeast mixture.
4. Combine the ingredients until a dough starts to form. It should be manageable but slightly sticky.
5. Gently knead the dough for several minutes until it achieves a smooth consistency. If it seems excessively sticky, work in some extra flour; if it seems too dry, work in a little extra water.
6. Drape a wet cloth over the dough and let it sit in a warm spot for about 30-45 minutes. Allow it to rise a bit. It may not rise as much as the other things that we make yeast work in, but it will get a little bit fluffy for your next step.
7. The oven must be preheated to 475°F (245°C). A baking sheet or an inverted baking tray needs to be in the oven to heat up.
8. Separate the dough into 6-8 equal parts and form each part into a ball. With a rolling pin, flatten each ball into a thin round shape about 1/4 inch thick.
9. Put the flattened dough on the hot baking sheet in the oven. Bake for 5-7 minutes, or until the pitas have puffed up and are just slightly golden.
10. Take them out of the oven and cover with a fresh cloth to keep them soft and bendy. Serve them warm; or, if they cool off, keep them in an airtight container.